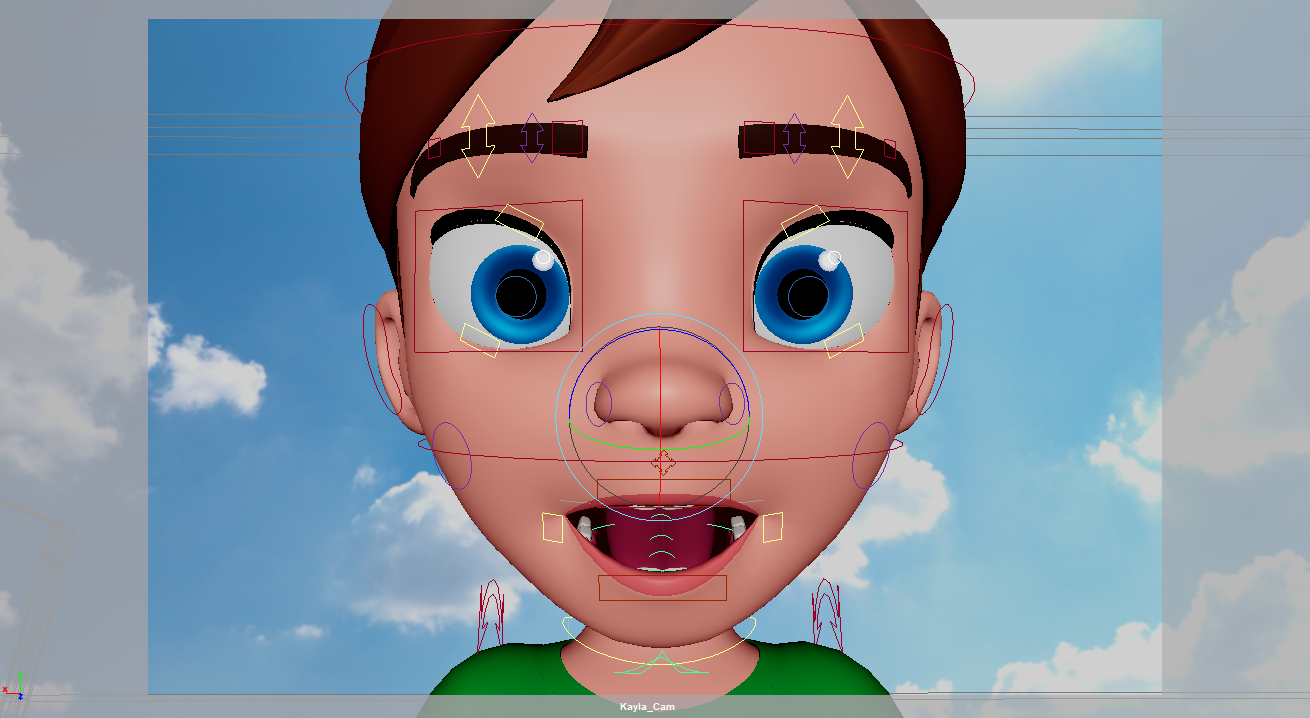
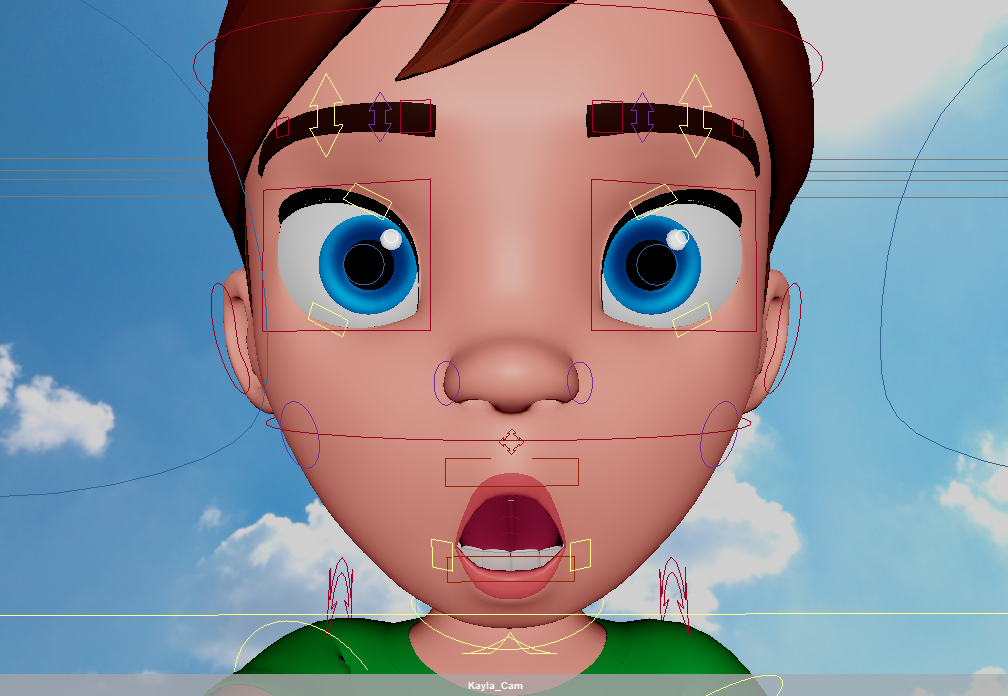
Now comes the most sought part of Maya Tips: Vowels.
After doing the anime mouths on my Maya Rigs, It's time to animate the vowels for my characters.
This involves a process of checking to see how the jaw animation is going with my animations before I proceed on to animating the side parts of the mouth.This involves scrubbing through my timeline where I have my audio file and playing back the timeline to see how the scene is going.
Once I'm satisfied with how the animation of the jaw is going with the audio waveforms, I proceed to select the side portions of the mouths.But before I start animating, I need to make sure the control axis is set to object for both controls so that way, the mouths are animated in symmetrical form unless I need specific mouth poses but before that, I need to focus on animating the vowels.
I've noticed that some rigs have their side mouth controls thrown off the axis and don't follow symmetry rules so I have to pre-key their keyframes before I animate.
I can't do screenshots and show you how to pull the control with your mouse so instead, I'll show you mouth variations of what the vowels will look like when working on the vowel controls.
Unlike on 2D Puppet Rigs where the mouth animations are pre-set, 3D Character Rigs let you decide whether you want subtle or exaggerated mouth poses, just as long as they don't break the polygons and by that, CLIP THROUGHT THE POLYGONS.
Also, some rigs are built different to the point they can exaggerate their jaw poses too.
Kayla and her male counterpart Kyle for me are notoriously constrained POLYGON-WISE when I want to exaggerate their jaws or mouth poses but Jasper is an exception.
I'm glad I'm using an updated version of the Jasper Rig. I had an earlier version that was notoriously broken on the jaw controls..... sort of.Thank balls the rig is fixed but for the sake of authenticity, I set the new version of this animation's camera to CINEMASCOPE resolution since I'm a fan of scope lenses like the ones used in STAR WARS.
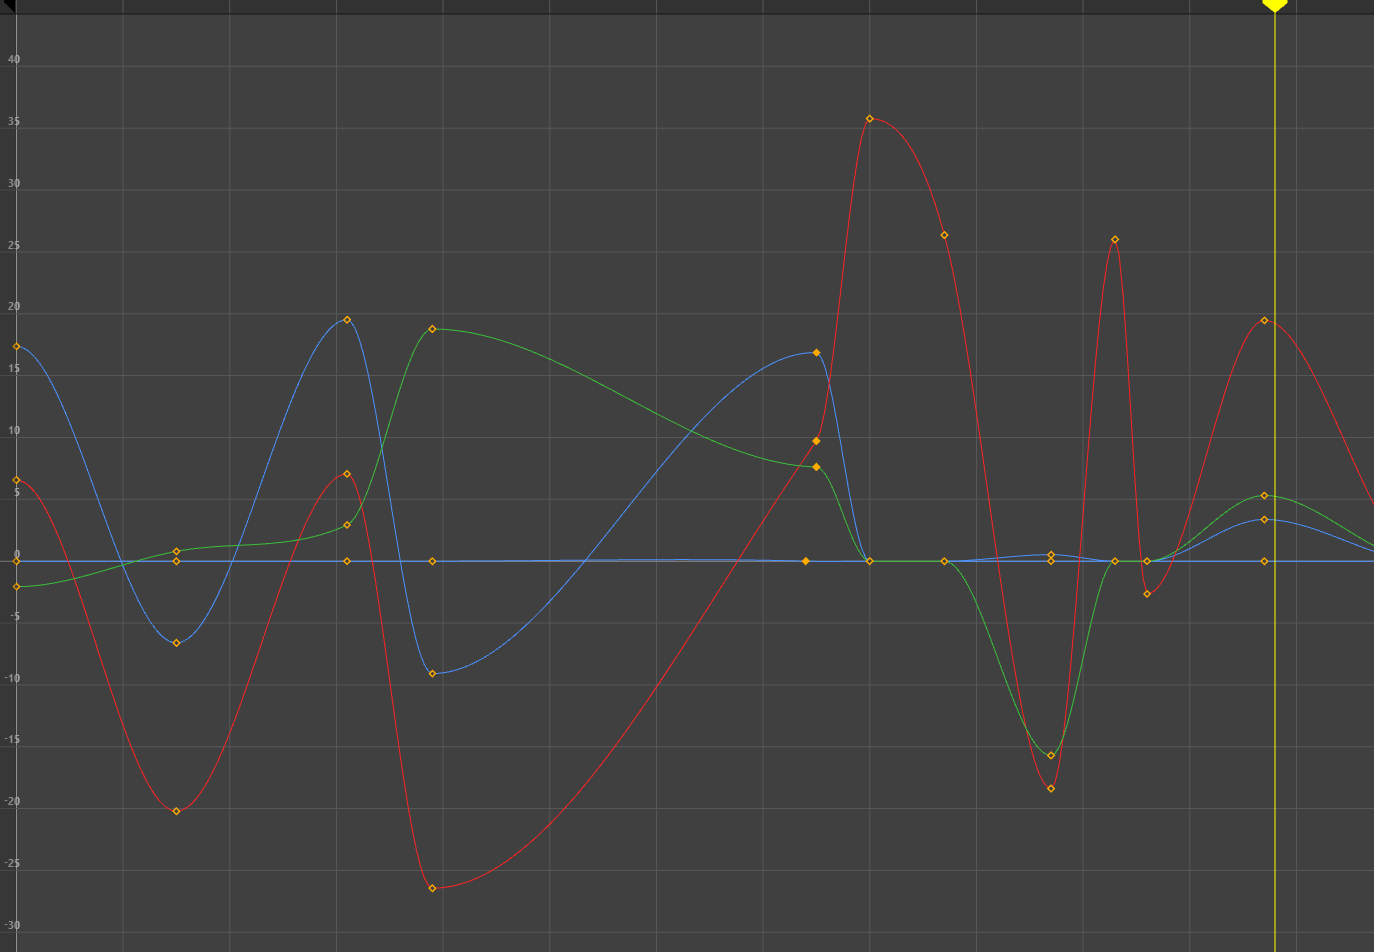
Also, It's a good idea to check your graph editor to see how your keyframes are holding up.
Next installment of Maya Tips, I want to get into the nuts and bolts of FK/IK switches but that will have to wait until I work more on this animation and get my necessary screenshots.
It feels weird doing this but my CHADLY 27" MSI 165hz Monitor is totally busted.
I thought the horizontal lines went away but then they came back and in worse condition than before so now I'm back to square one which is my smaller 24" ACER Monitor..... for a short time though.
Funny how my larger monitors broke down more easily while my smaller ACER monitor which I've had for the last 2 years proved to be more reliable.
I bought an ASUS TUF GAMING VG27AQ monitor which has sort of the same specs as my old MSI Monitor but it has things like 1440p resolution and HDR colors.
The refresh however is slightly lower at 144hz and I disabled HDR Colors because the were too bright for my eyes despite having perfect 20/20 vision.


No comments:
Post a Comment